I needed the means to add a quote to a website I was working on - a simple task, which could be acheieved by simply adding a text or HTML block. However this can be taken a step further by implementing a simple block type specifically for quotes, with the markup generated for you.
To mark up a quote semantically, we'll want a blockquote for the content and a cite for the source (or author), so the HTML needs to look something like this:
<blockquote>
<p>It is the mark of an educated mind to be able to entertain a thought without accepting it.</p>
<p><cite>Aristotle</cite></p>
</blockquote>
...which will give us something a little like this:
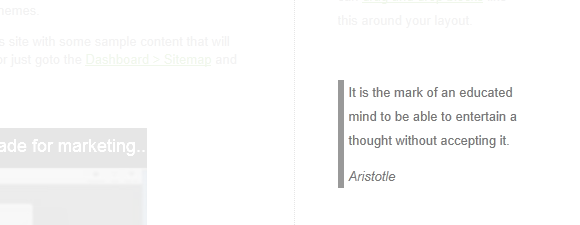
Of course we could just paste this structure into an HTML block, but a simple block containing two fields - content and source - is actually pretty easy to build. So, let's begin.
First Steps
Let's call the block - imaginatively enough - quote. Incorporating this block into a a package is pretty simple, but outside the scope of this tutorial (and I've covered packages before). So, simply create a directory named quotes in the blocks directory (not the concrete directory - this might mirror the top-level directory structure, but it's reserved for the core, and would get overwritten with any upgrade).
The Database Schema
The first thing we'll need is to define a new database table to hold our quotes. This simply needs an identifier (which becomes the table's primary key), the text of the quote (i.e. the content) and the source. Let's keep the content flexible and allow plenty of text if required, but the source is unlikely to require any more characters than a simple text-field will give us. The database schema in Concrete5 gets defined according to the ADOdb XML schema, so a table is defined by creating a simple XML file in your block's directory which must be called db.xml - and it will look like this: /blocks/quote/db.xml
<?xml version="1.0"?>
<schema version="0.3">
 <table name="btQuoteBlockContent">
    <field name="bID" type="I">
   <key />
   <unsigned />
    </field>
    <field name="content" type="C2">
    </field>
    <field name="source" type="C" size="255">
    </field>
 </table>
</schema>
So, three fields - bID for the block identifier, which is an unsigned integer (represented by I) - which is the primary key - a content field, which is a Multibyte varchar (see the documentation) and the source is a 255-character field (a MySQL varchar, referenced using a C).
The Add / Edit Forms
Next up, we need the means to add a new quote. When adding a new block, the file add.php gets rendered, and all we need is a simple form. However since the form for adding a new quote is, to all intents and purposes, the same form as for editing an existing quote, what we can do is simply include a separate file which defines the form - which by convention is called form_setup_html.php - and use the same code for the forms for both adding and editing. So, both add.php and edit.php are identical, and look like this: /blocks/quote/add.php and /blocks/quote/edit.php
<?php
defined('C5_EXECUTE') or die(_("Access Denied."));
$this->inc('form_setup_html.php');
The first line prevents the file from being accessed directly, the second includes the file which defines the form, which is shown below:
/blocks/quote/form_setup_html.php
<?php defined('C5_EXECUTE') or die(_("Access Denied.")); ?>
<div>
<h2><?php echo t('Quote Content') ?></h2>
<textarea id="ccm-QuoteContent" name="content" style="width:98%; height:200px;">
<?php echo $content ?>
</textarea>
<h2><?php echo t('Quote Source') ?></h2>
<textarea id="ccm-QuoteSource" name="source" style="width:98%; height:100px;">
<?php echo $source ?>
</textarea>
</div>
Nothing complicated here, just a form where any current value will have been made available as the variables $content and $source respectively - we'll see these get populated by examing the next file we need to create, the block controller.
The Block Controller
/blocks/quote/controller.php
<?php
defined('C5_EXECUTE') or die(_("Access Denied."));

Loader::block('library_file');

class QuoteBlockController extends BlockController {

 protected $btTable = 'btQuoteBlockContent';
 protected $btInterfaceWidth = "600";
 protected $btInterfaceHeight = "400";

 public $content = "";
 public $source = "";

 public function getBlockTypeDescription() {
    return t("Add simple quotes to your website.");
 }

 public function getBlockTypeName() {
    return t("Quote");
 }

 public function __construct($obj = null) {
    parent::__construct($obj);
 }

 public function view(){
    $this->set('content', $this->content);
    $this->set('source', $this->source);
 }

 public function save($data) {
    $args['content'] = isset($data['content']) ? $data['content'] : '';
    $args['source'] = isset($data['source']) ? $data['source'] : '';
    parent::save($args);
 }
}
?>
There's quite a lot to go through here, but nothing too complicated. This file sub-classes the BlockController class, which we'll call QuoteBlockController because our module is called, simply, quote. First up, the methods getBlockTypeName() and getBlockTypeDescription() expose information for the administrative interface. The name is used when choosing a block to add, and the description is used in addition to the name when adding new functionality in the dashboard. The line:
protected $btTable = 'btQuoteBlockContent';
...defines a property of our block controller which indicates what database table to use. Once an association is made with a table, operations can be performed on that table using methods such as save within the controller. Also, some functionality - such as querying the table when showing a block - is performed automatically, once the controller knows where to look. The properties $btInterfaceWidth and $btInterfaceHeight control the dimensions of the popup window in the adimistrative interface when adding or editing an instance of our new block. The save method is called when the add or edit forms are submitted, and gets passed an associative array of data from the form; you'll recognise that the indexes content and source match the names of the form elements previously defined. Calling the parent's save method with this data will store the information in the table we've previously created, because by referring to the table name in the $btTable property we've already told the controller where that data goes. Finally, the view method is automatically called when the block is rendered and simply needs to take the properties of the block,content and source - which, by harnessing the power of the blocks system have already been loaded for us are already available as properties of the controller - and assign them to the view. This is achieved using the set method, and as a consequence they will be made available as variables in the view template, view.php, which is shown below.
The View Template
/blocks/quote/view.php
<?php defined('C5_EXECUTE') or die(_("Access Denied.")); ?>

<div id="QuoteBlock<?php   echo intval($bID)?>" class="QuoteBlock">
    <blockquote>
    <p><?php print $content; ?></p>
 <p><cite><?php print $source; ?></cite></p>
    </blockquote>
</div>
Pretty simple stuff - and by doing it this way, we ensure that our markup for the quote is exactly as we intended it.
Installing & Configuring the New Block
So, if you browse to the Dashboard and select Add Functionality, you should see that the new block is available to install under the heading "Downloaded and Ready to Install".
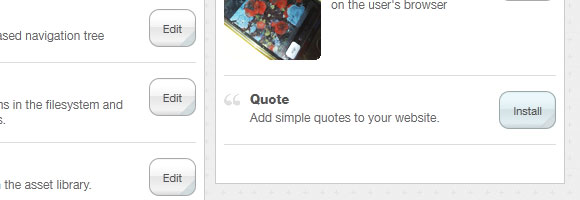
(Note that the icon displayed alongside the new block type can be personalised; all I've done is create a simple 16x16px icon and call it icon.png.) You can now try adding a block; if you scroll to the bottom of the list of available blocks you should see the new block listed:
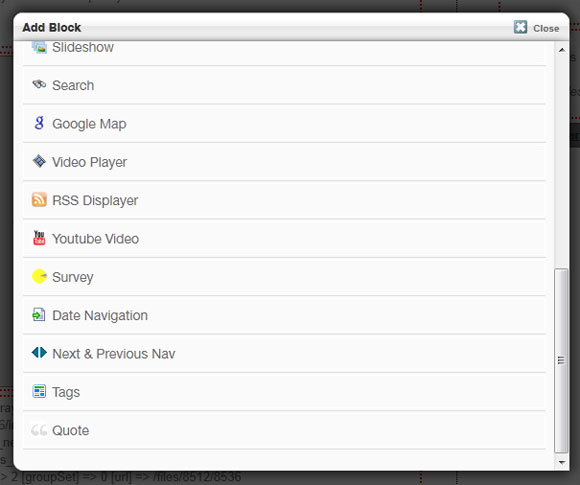
Selecting the quote block gives you the form we've just created:

If you enter a quote and its source and then click add then, all being well, you should end up with something like the screenshot below.
(I've applied some very basic styling, I'm sure you can do better!) This is an extremely simple example, and I&rsquo've left out certain things - such as validation - for brevity, but hopefully it's enough to give you an idea of how easy it is to create functionality like this and to get started developing for Concrete5.